Critiques form a very important part of any designer’s education, and are an essential learning tool in a studio setting. Critiques are most effective when the teacher prepares it in a structured way rather than giving random comments. Students should be leading the discussions in a critique; the teacher’s role is to guide the discussions lead by the students. My view is that learning in design cannot happen when the subjectivity of the teacher gets in the way. I believe that it is in both the learner’s and the teacher’s interest to shift the focus of discussions away from the self, and instead directed at the context and the communication effectiveness of the project.
Here are a few methods that I use in critiques:
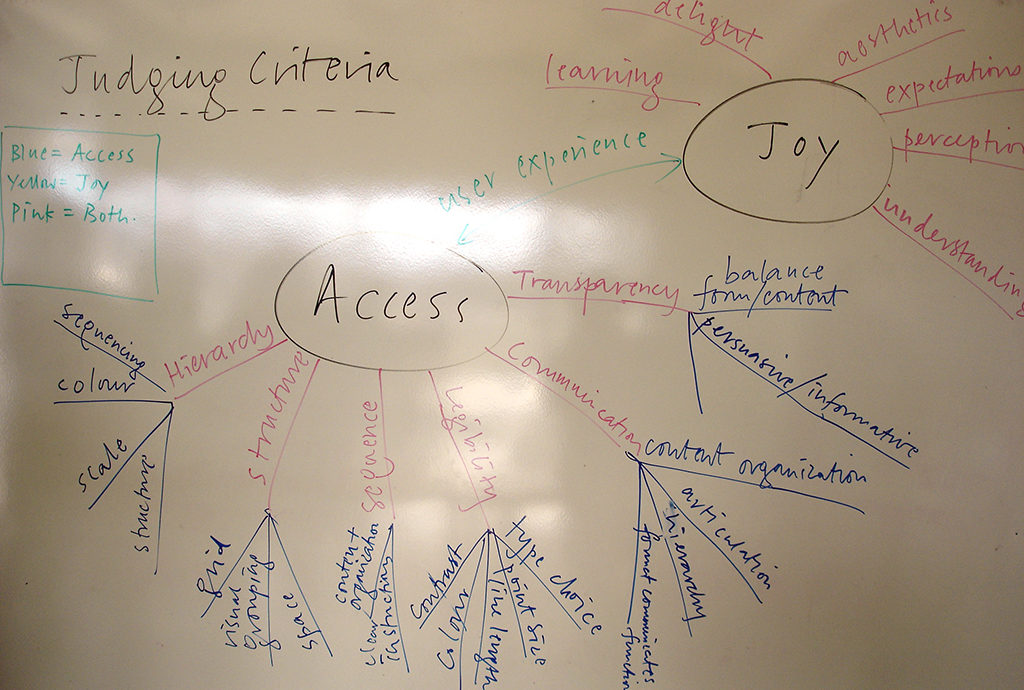
Establish judging criteria first
It is extremely helpful (before the critique proper begins) to revisit the design brief and ask students to contribute to establishing a set of criteria for judging the work. Ask, ‘what would make this a good piece of design?’.
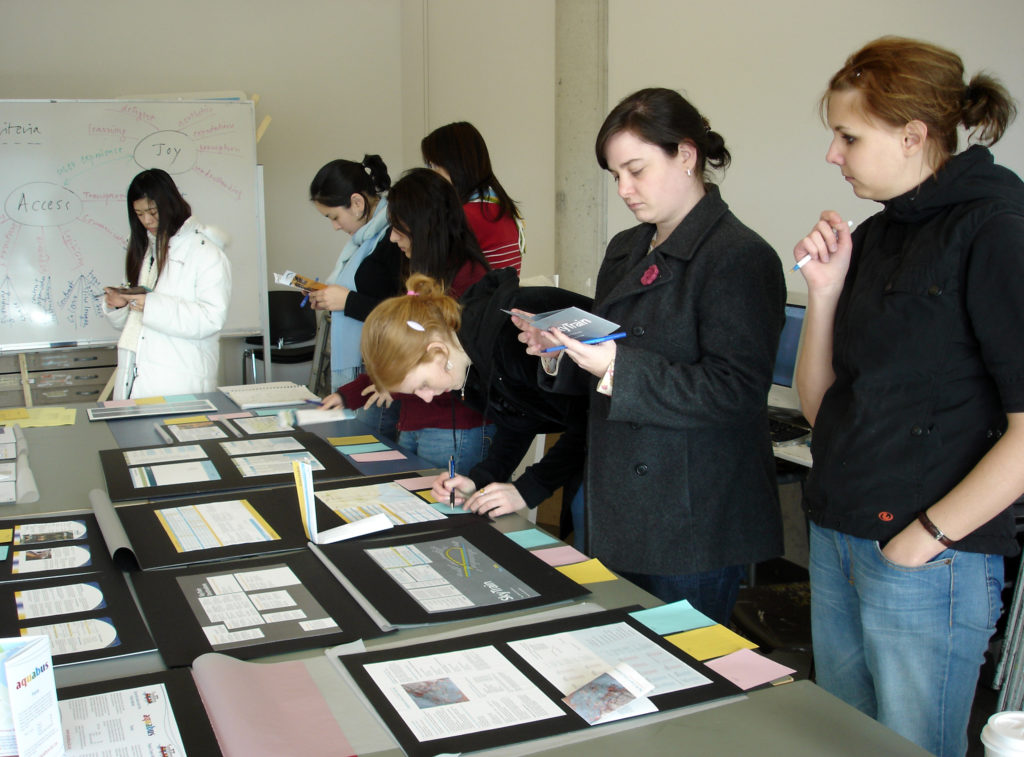
Give students some time to preview the work in detail
Give the students 20 minutes or so to closely study their peers’ work. Some work require more time to appreciate than others (eg book designs). Posters might require less time. Get the students familiar with what their fellow students have been working on.
Presenting someone else’s work as if the students’ own
This is an interesting technique that students always find fun. Get each student to choose one of their peer’s work, give them some time to examine it, and then ask them to present it to the whole class as if they did it themselves. After the presentation, the student who originally created the work would have to ask two critical questions about the work as a member of the audience. This reversal of roles invites students to view their own work with some distance and objectivity, and also to enable students to decipher someone else’s work and verbally rationalize what they see. The effectiveness of communication is very easily revealed.
Assigning someone to lead the discussions
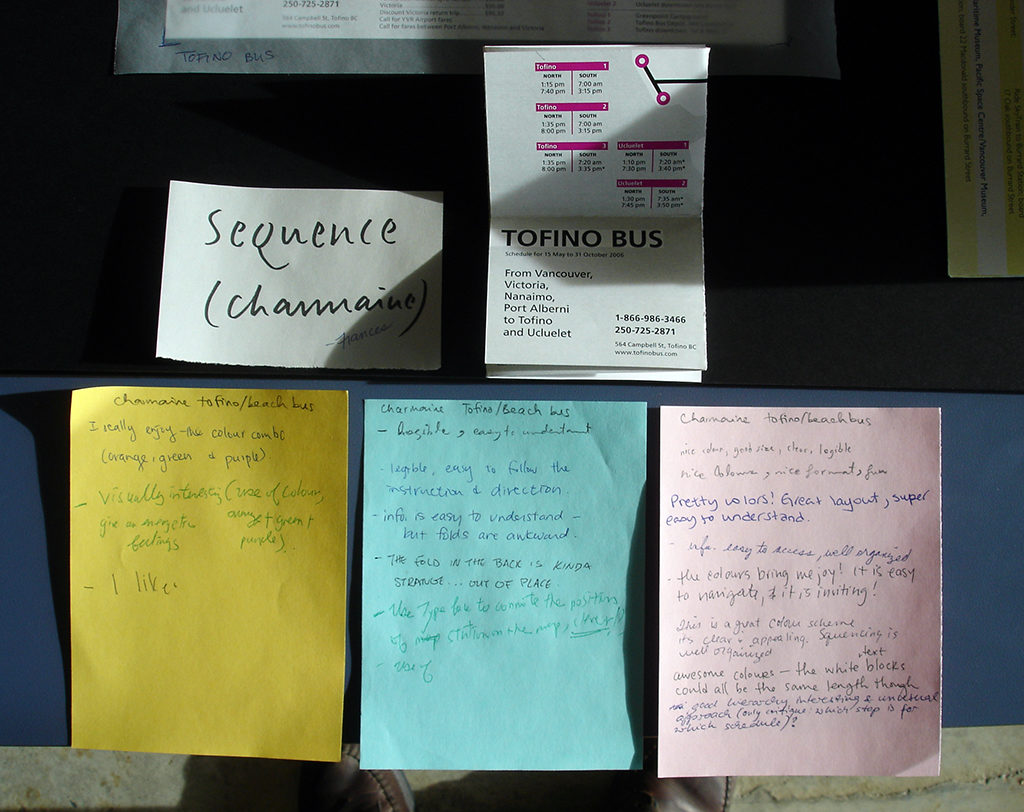
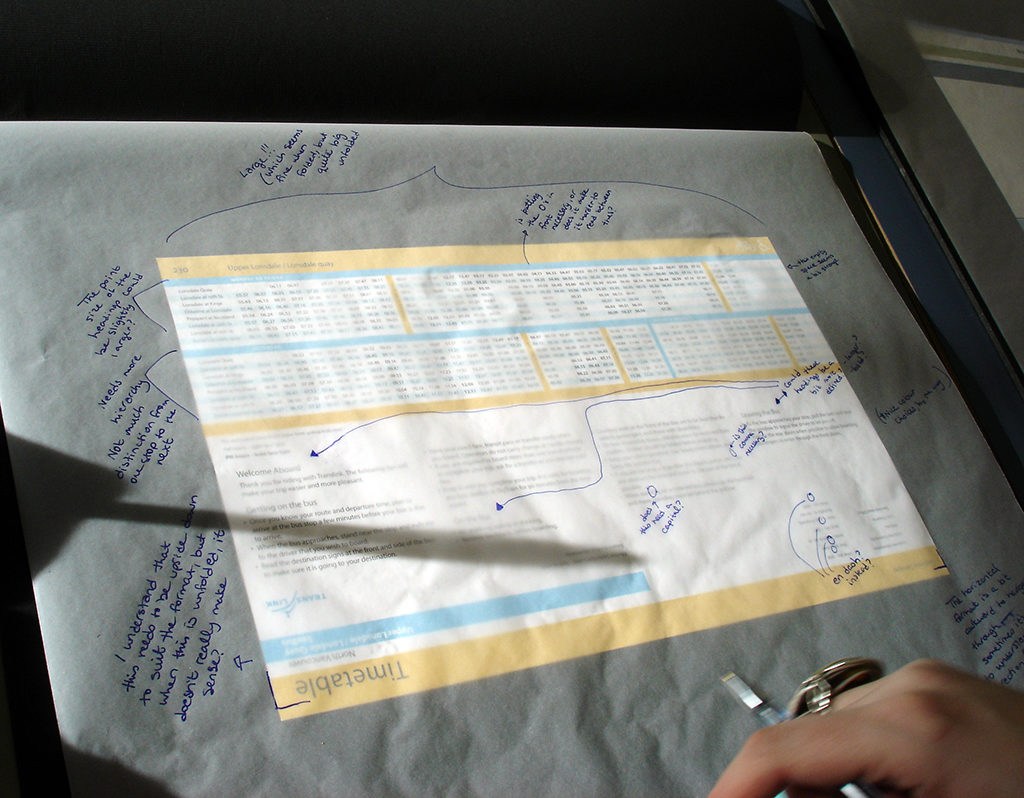
After an initial ‘preview’, each student could choose one piece of work that interests them and write down one word on a Post-It note to describe one thing that does not work in the design. The student will then lead the discussions based on this word. This ensures that the subsequent discussions are purposeful and does not lose focus.
Silent critique
The teacher prepares self and peer evaluation forms with bipolar scales of qualities that describe the student work. Students will evaluate their own and two other peers’ work using this form, and write comments on them. Students can then modify their designs based on these evaluations.
Three colours
This technique is interesting in that it encourage students to think of the priority of their peers when they designed the piece. Three slips of coloured paper are attached to each piece of work: blue, yellow and green. At the beginning of the critique, the class as a whole decide what those colours mean, for example blue means the work is ‘functional’, while yellow means that it is ‘aesthetically pleasing’. The green (which is a combination of blue and yellow), then, should be a sum of the blue and yellow, ie the work both serves its function well and it is aesthetically pleasing. After carefully reviewing each piece of work, students put a mark on one of the colours.